Spline 3D: How to Setup and Build a Spline Project
Written by
Published on

Written by
Published on
Share
Introduction:
Getting started with Spline 3D can feel overwhelming, but it doesn’t have to be. Whether you’re a 3D designer or a newcomer, this guide will walk you through the essentials of setting up and mastering a Spline 3D project. From finding inspiration to integrating your creations into web platforms, we’ve got you covered.
1. Finding 3D Inspiration for the Web
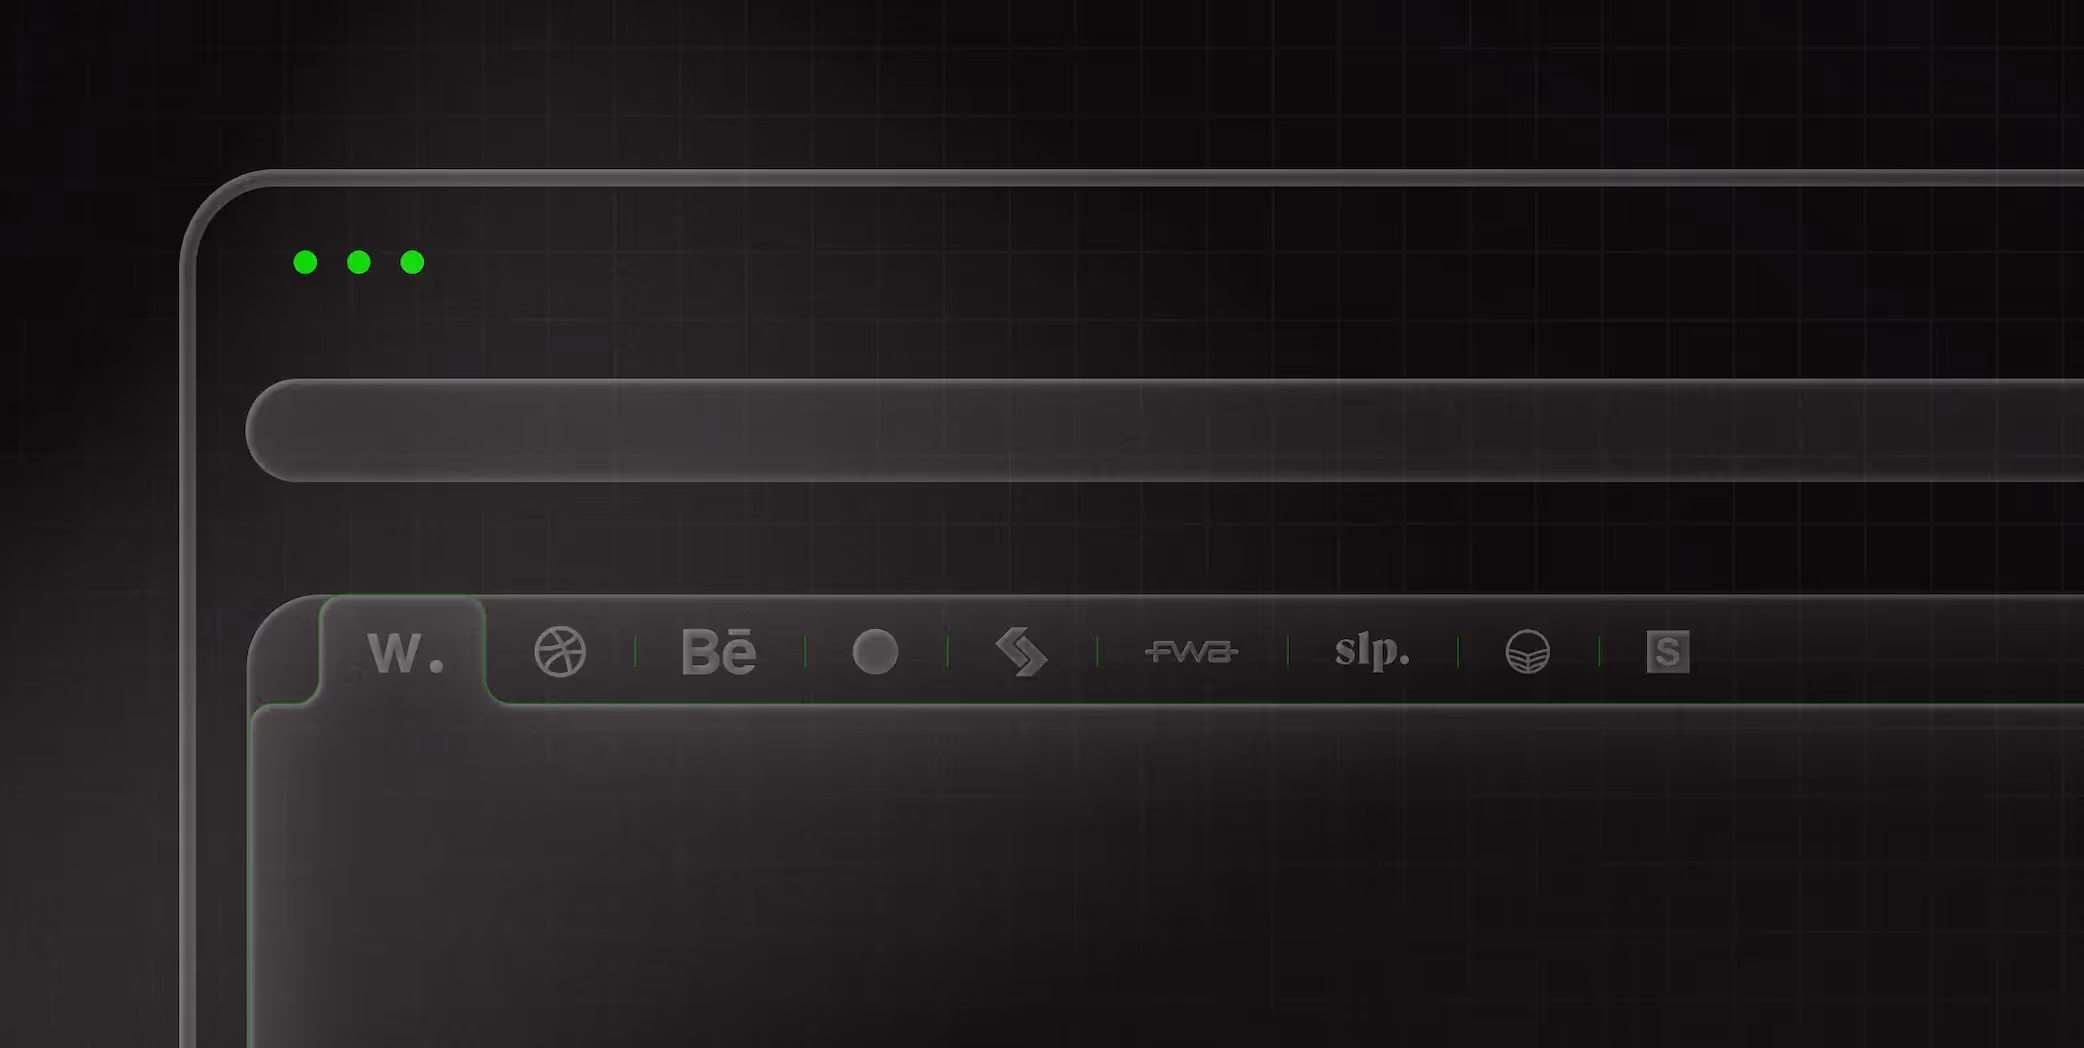
Three.js: Javascript 3D Library Community Examples
Three.js is a JavaScript library that makes creating 3D content in the browser simple. Browse the extensive gallery of projects on the Three.js website to find inspiration for your next 3D scene. Each project
Sketchfab: 3D and AR Platform and Marketplace
Sketchfab is a platform where artists and designers share their 3D models. Explore categories such as art, architecture, and games to find models that inspire your design. Use Sketchfab to understand how different materials, lighting, and camera angles can enhance a 3D scene.
Spline 3D: Free 3D Design Software and Community Projects
The Spline community is where designers share their 3D projects and ideas. Browse through various projects to see what others are creating with Spline. This community is a great place to get inspired and learn new techniques specific to Spline. You are able to remix (duplicate) existing projects to shape it your own way.
2. Designing Your 3D Mockup in Figma
Create a Basic Layout
Start by creating a new project in Figma. Outline the basic structure of your design, including key elements like buttons, text, and placeholders for 3D objects. This step helps you plan the overall layout and flow of your project.
Mockup 3D Elements
Sketch out your 3D elements in Figma to see how they fit within the overall design. Use simple shapes and lines to represent 3D objects. This will give you a rough idea of how the final scene will look.
Feasibility Check
Review your Figma design to ensure it aligns with your project goals. Consider the technical feasibility of your design; will the 3D elements work as intended in Spline? Adjust the design as needed to address any potential issues.
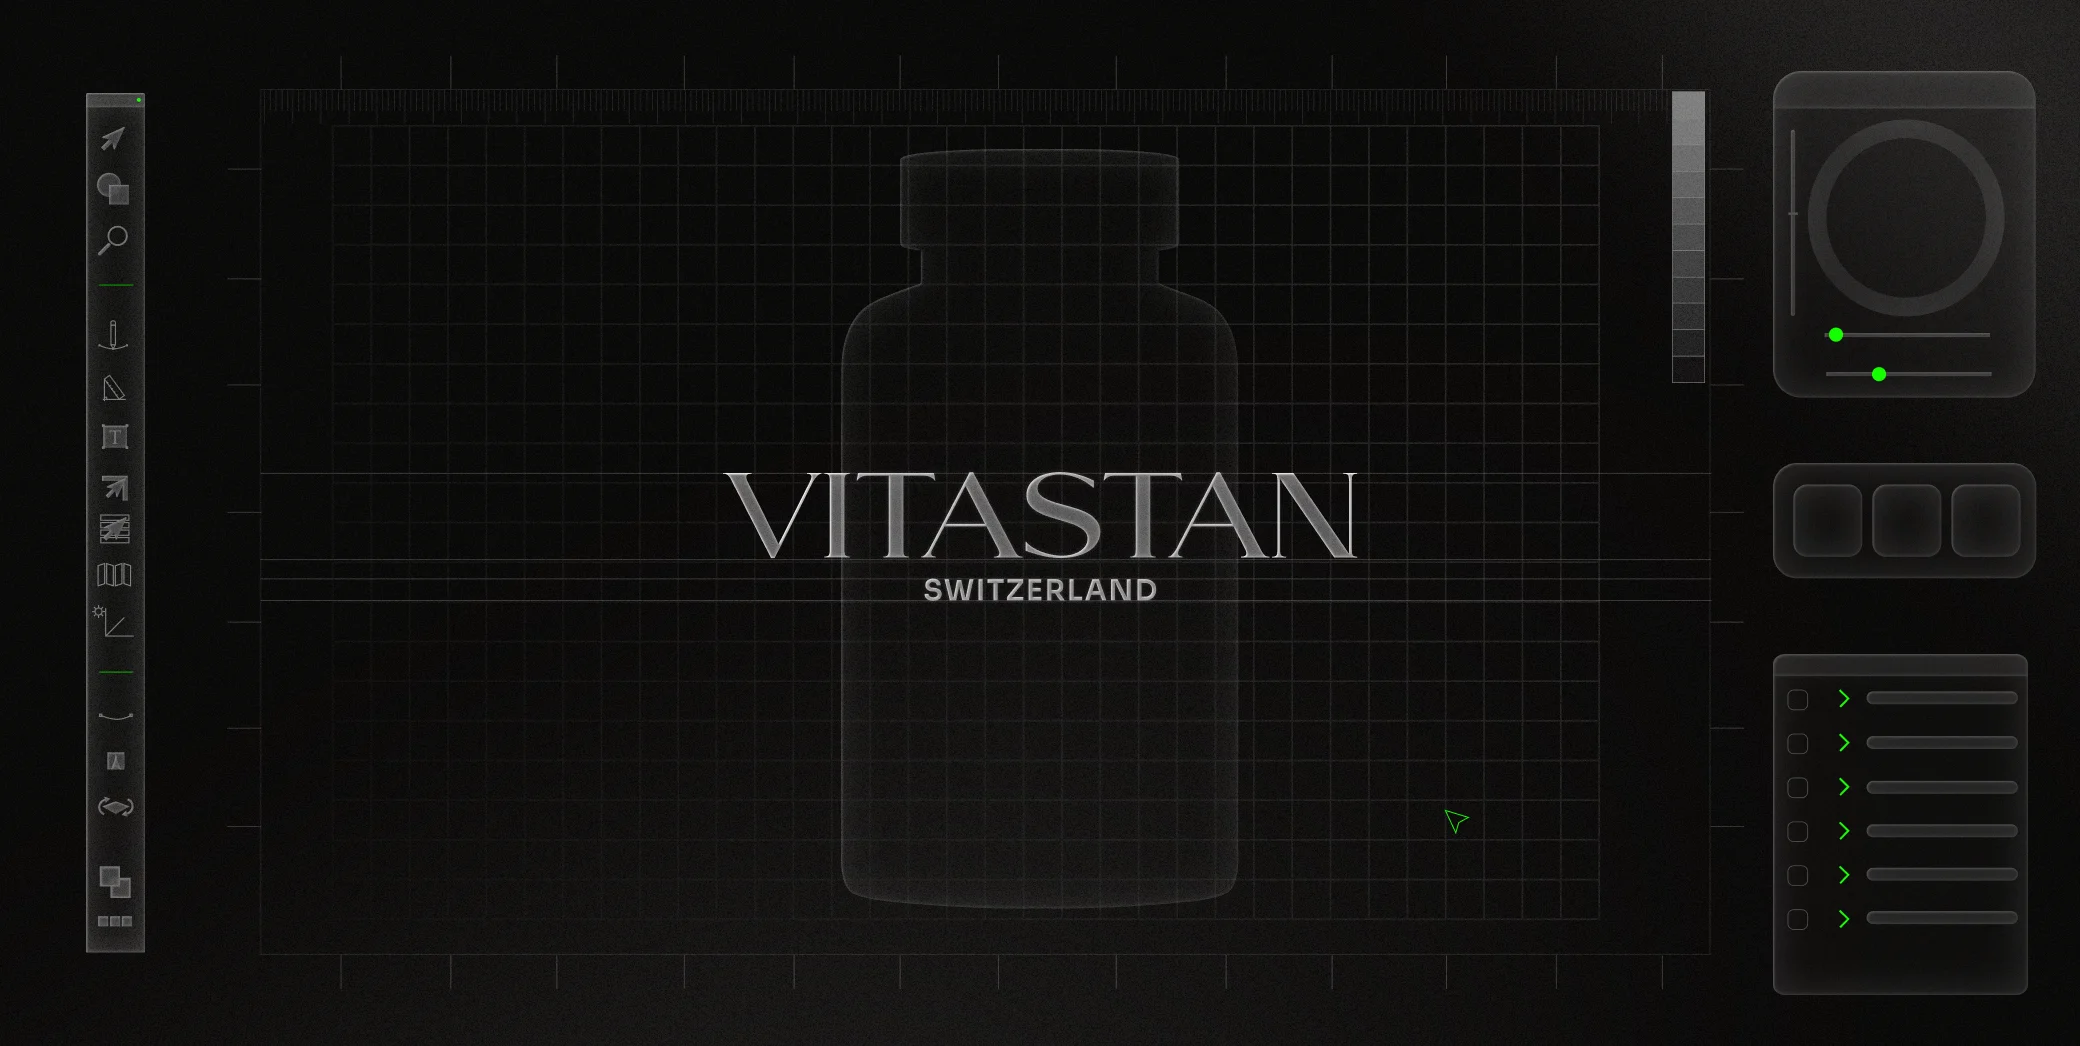
3. From Sketch to 3D: Bringing Your Vision to Life in Spline
Import Your Figma Design
Use your Figma design as a reference while working in Spline. Although you can’t import directly from Figma to Spline, having the design open in another window helps you stay aligned with your initial vision.
Create Basic Shapes
In Spline, start by creating the basic shapes and structures outlined in your Figma mockup. Use the primitive shapes available in Spline (such as cubes, spheres, and cylinders) to build the foundational elements of your scene.
Refine Details
Gradually add details to your 3D models. Adjust dimensions, add textures, and fine-tune the placement of each element to match your mockup. Use Spline’s tools to smooth edges, add bevels, and enhance the overall appearance of your 3D objects.
4. Using Spline Materials the right way
Types of Materials
Spline offers a variety of materials, including standard, metallic, and glass. Explore these options to understand how they affect the appearance of your 3D models. Experiment with different materials to find the best fit for your project.
Creating Custom Materials
To create custom materials, use Spline’s material editor. Adjust properties such as color, roughness, and reflectivity to develop unique textures. You can also import images and patterns to use as textures, adding another layer of customization.
Applying and Adjusting Materials
Apply your chosen materials to the 3D objects in your scene. Drag and drop materials from the library onto your models. Use the material properties panel to make adjustments, ensuring that the materials look realistic and cohesive.
5. How to Control the Camera in a Spline Scene
Setting Up the Camera
In Spline, set up your camera to get the best view of your 3D scene. Position the camera to capture the most important elements of your design. Use the camera controls to zoom in, zoom out, and rotate around the scene.
Adjusting Angles and Perspectives
Modify the camera angles and perspectives to highlight different aspects of your 3D model. Experiment with different views to see how they change the perception of your scene. Save multiple camera positions to switch between them easily.
Animating the Camera
Create dynamic camera movements by using keyframes. In Spline, you can set keyframes for the camera’s position and rotation. Animate the camera to move smoothly between keyframes, adding an engaging element to your scene.
6. Best Practices to Animate a Spline Scene
Basic Animations
Start with simple animations to get a feel for Spline’s animation tools. Animate basic properties like position, rotation, and scale. Use the timeline to set keyframes and adjust the timing of your animations.
Advanced Animations
For more complex animations, explore Spline’s advanced features. Animate multiple objects to create interactions and sequences. Use easing functions to smooth out transitions and make animations more natural.
Best Practices
Maintain a consistent frame rate to ensure smooth animations. Avoid overly complex animations that could slow down performance. Test your animations on different devices to ensure they look good everywhere.
7. Implementing a Spline Scene / Project into a Website
Exporting Your Project
Export your Spline project as a code snippet or a file compatible with web platforms. In Spline, go to the export options and choose the appropriate format. Save the export file to your computer.
Embedding in Webflow
In Webflow, use the native Spline feature to integrate your Spline project. Add a Spline element and paste the export code into the block. Adjust the settings to ensure the 3D scene fits within your web layout. Pro tip: add point events none so the spline scene will not interfere with your design.
Ensuring Responsiveness
Make your Spline project responsive by adjust the animations in Spline directly and by creating flexible layouts in Webflow. Test your 3D scene on different devices to ensure it scales properly. Adjust the dimensions and positioning as needed to maintain functionality and appearance.
Conclusion:
Mastering Spline 3D involves a mix of creativity and technical know-how. By following this guide, you’ll be well on your way to creating stunning 3D projects that captivate and engage. Dive in, experiment, and most importantly, have fun bringing your ideas to life with Spline 3D.
This detailed version provides more specific steps and insights for each section, ensuring that readers have clear, actionable guidance on how to start and master a Spline 3D project.
Related Posts
Take a look at these
%2520Brand%2520Identity%2520in%25206%2520Simple%2520Steps%2520Flowcard.avif)